Windows
 Apple Silicon


Table of Contents
Today, we’ve specifically organized the basic method for adding Captions using Pr’s built-in Text Tool.
Many video editing newcomers get stuck at the Caption-adding stage after finishing their edits—either unsure how to add them or spending too much time adjusting formats. Today, we’ve put together the foundational approach for adding Captions with Pr’s native Text Tool, with straightforward steps so beginners can start right away.
1. How to Add Captions in Pr
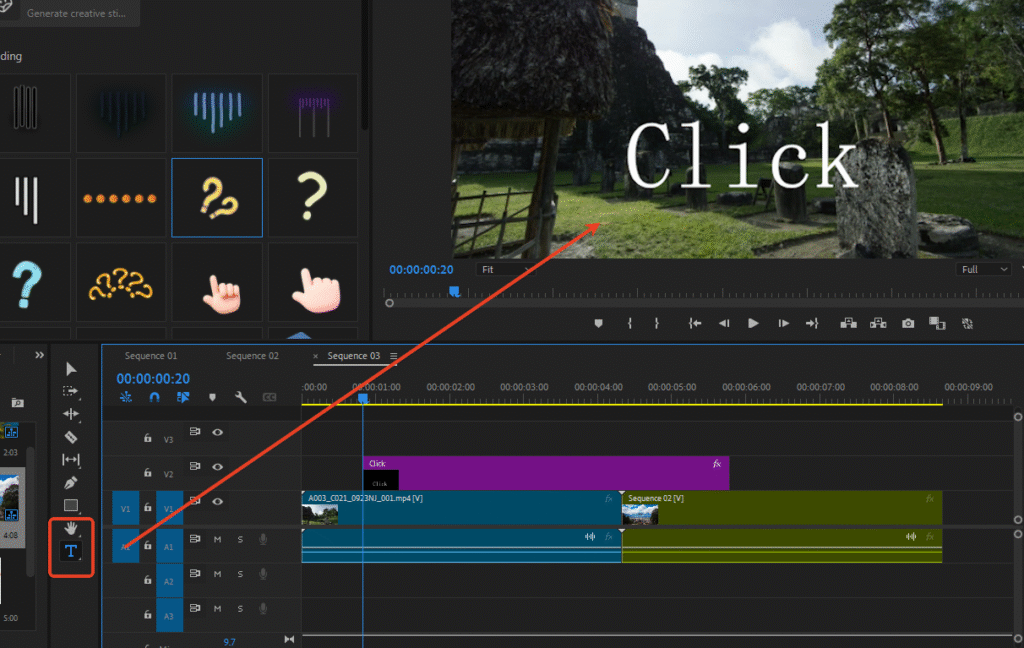
After opening Pr, first drag the video Media that needs Captions onto the Timeline. Find the Text Tool (the “T” icon) in the toolbar on the left, then simply click on the desired position in the video frame within the Program Monitor and start typing your text.
Once entered, a corresponding graphics file will automatically appear on the Timeline—this is your Caption track.
2. Editing Caption Styles
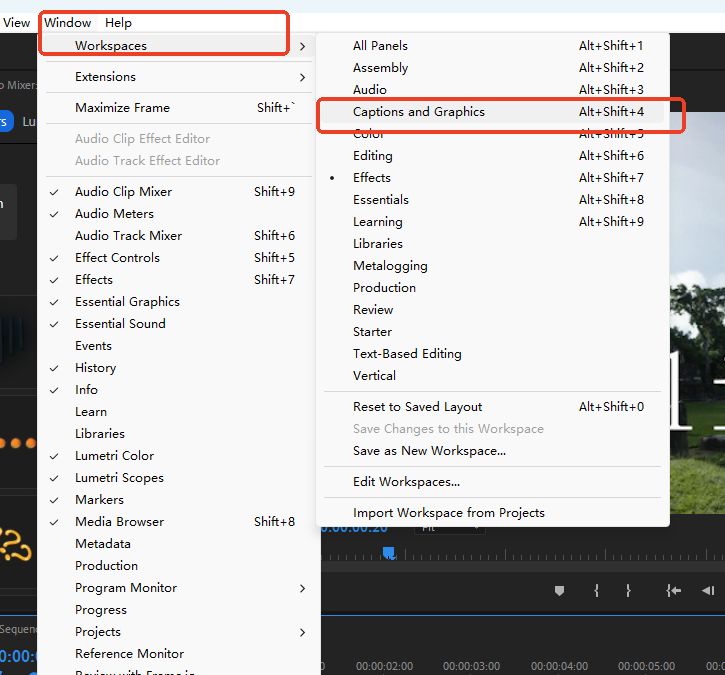
After selecting the Caption block on the Timeline, you need to open the “Graphics” window to adjust the Caption style:
- If you don’t see the “Graphics” window in the interface, go to the top menu bar and click Window > Workspace > Graphics to bring it up.
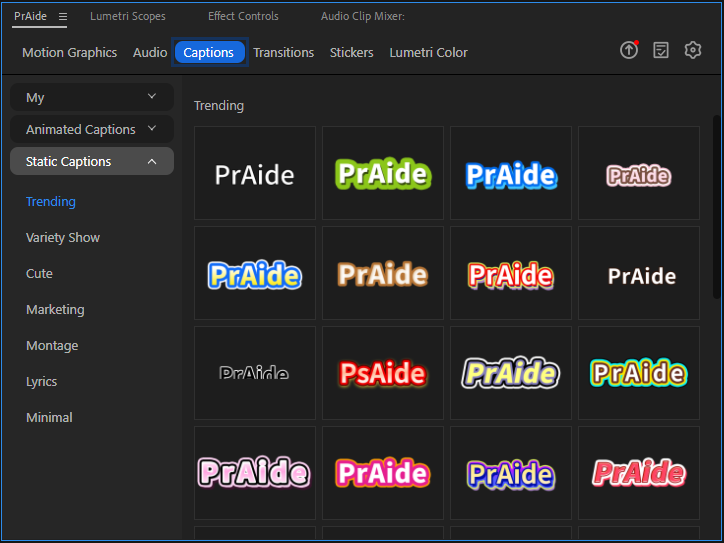
- Inside the Graphics window, the “Essential Graphics” editing interface on the right lets you customize parameters like font, font size, position, line spacing, color, stroke, and more.
- You can also quickly align Captions to common styles like center, bottom, or left alignment with one click—no need for manual fine-tuning.
- The lower right of the editing interface supports creating new text, rectangle, or other shape layers. For example, to add a background box behind your Caption, create a rectangle layer, then drag the layers up or down to set the display order (text in front, rectangle behind creates a Caption with a background effect).
3. Quickly Create Same-Format Captions (Copying Captions)
If you need to add multiple Captions with the same format to your video, there’s no need to adjust the style each time. Here’s a quick tip:
Select the already formatted Caption block on the Timeline, hold the Alt key, and drag this block to where you want the new Caption to appear. Release, and a new Caption with the exact same format as the original will be created—just modify the text content. This saves a ton of time!

4. Efficiency Booster: PrAide Plugin (Speed Up Caption Creation)
If you find Pr’s native Caption workflow still a bit cumbersome, we recommend trying the PrAide plugin to double your Caption production efficiency:
Once installed, the plugin adds a dedicated Panel to the Pr interface, eliminating the need to switch windows repeatedly to adjust Captions:
- One-Click Caption Addition: In the plugin Panel, find the “Captions” feature to add Captions directly within Pr. It also supports automatic speech-to-text Caption generation, saving you from typing word by word.
- Massive Free Caption Templates: The plugin comes with various styles of Caption templates (vlog-style, cinematic, cartoon text, etc.). Select a template and apply it to your video with one click, and fine-tune the font, color, and animation effects as needed.
- Batch Edit Captions: Supports batch modifications of font, size, and position across multiple Captions, so you don’t have to adjust them one by one. Even beginners can quickly create uniform and polished Caption effects.
Whether you’re a beginner or an experienced creator, PrAide can help you break free from the process of creating Pr Transitions while addressing multi-dimensional editing needs, freeing up more time for creative thinking. Give it a try and make your Pr projects more polished and competitive!
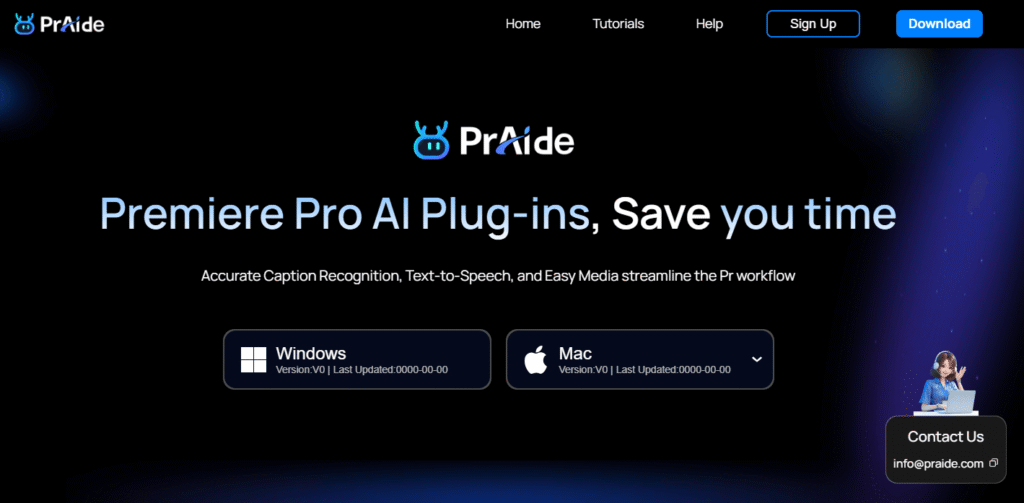
Download for Windows / Mac: https://pr.aide.art/